

Well, it's been two months since I wrote on this blog and if it serves as a journal, you'll understand how often I do that. Today, however, I'm pretty thrilled to have taken some very dull shots of a bit of bunting I've made. I actually made about a dozen of these sets because I had more fabric than I expected to have. Here's my tips on bunting:

First, pick out materials. I like to keep mine in the same color sets. You can see in the picture at the top of the page that the fabrics are all fairly bright, light, and colorful--perfect for the kids' room they are destined for (Baby Malone aka the baby of Miss Mommy). I found a bunch of pieces of my mother-in-law's leftovers from couch/window coverings and they made a lovely bunting set shown directly above.

TIP: Buy fat quarters!
Above you can see I stuck with pinks, oranges, and blues which made for a sweet kids room look. I was very surprised that a fat quarter from the fabric store (on sale for $2.99) made about eight to twelve standard triangles! That's quite a few for one piece and that meant that I could make more strands for less. Hooray for discovery! I hate buying fat quarters when I thought they were so expensive but now I know I can pick out more patterns and do more things (though the tapestry one ended up being my favorite and is best made with remnants so you don't break the bank).

This set I almost sent to Miss Mommy as well as her favorite color is green but I like the set at the top for her girl the best. This was made with leftovers from my mother-in-law's pile.

TIP: Use any kind of edging, ribbon, or lace for your connector and when you get to the end of the line, make sure you have enough edging to loop over against itself and sew closed so that you can hang these bunting pieces with ease.

Use a zig zag stitch on the sewing machine (don't you love my straight stitch?). Sorry for the wrinkled material. These need to be ironed. The zig zag stitch is for lazy sewers like myself who don't want to finish all the edges of our triangles. I didn't bother to finish it at all as you can tell for some of the pieces, but they won't unravel completely because of the zig zag stitch.

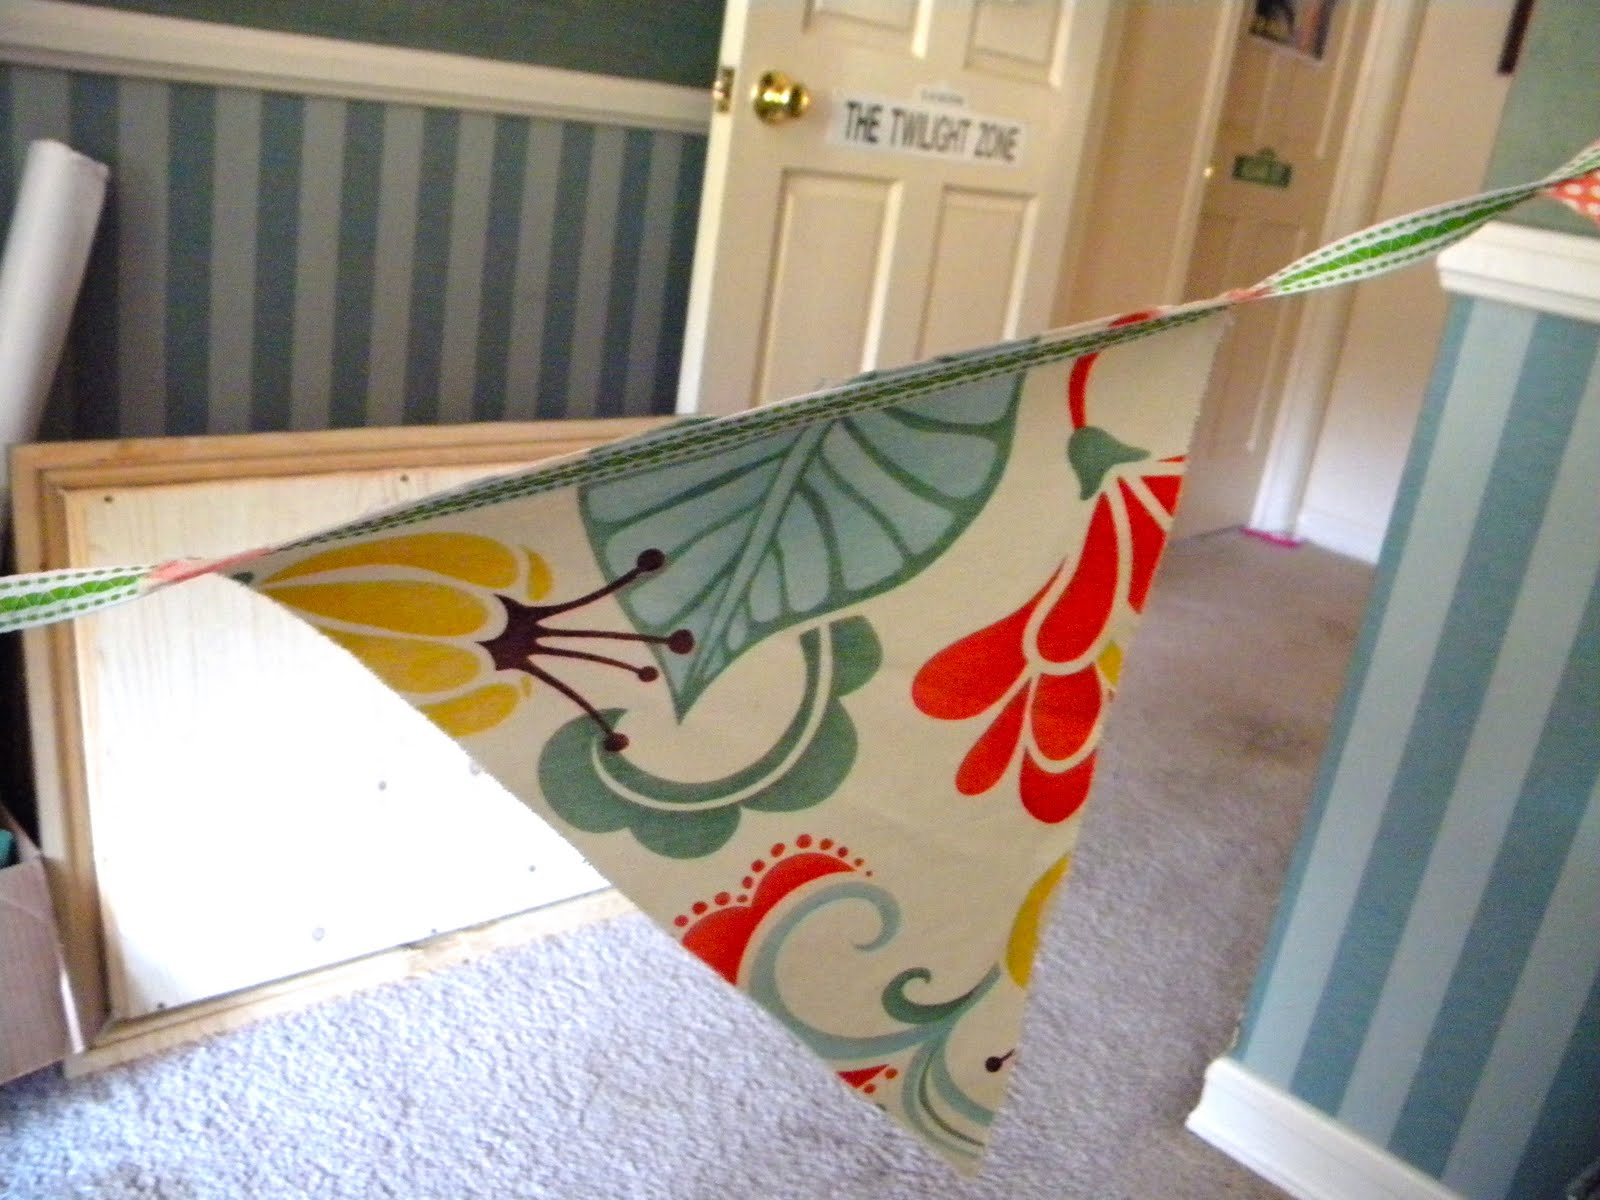
Here is a piece of trim I found that my mother-in-law had from some project or other and didn't need anymore. It looks really cute as the top line of the bunting and it was free!

If you have time and can maneuver your materials with ease, you can even forego the edging bit and sew each triangle to the next by overlapping them a little. You can see that I overlapped most of my bunting lines and this was because it was easier to connect the triangles than seperate them on the lines. This was a little harder with lightweight cotton but the heavier tapestry fabrics did brilliantly.

Here's the ribbon I chose for Miss Mommy. It's springy and so cute with the green stitching.
These pictures below are close ups of my bunting gift for Miss Mommy.


So, that's basically it. I was surprised at how cheap and easy bunting is to make when it costs such an arm and a leg at the crafting / fabric stores. Try this yourself! You won't be disappointed. There are so many party places, rooms, and decorative ideas for bunting. I'll leave you with one last picture of the bunting I made for my mother-in-law as a thank you in an old patriotic theme that she hung in the tent on their camping site. Brilliant and so cute.


2 comments:
You are AMAZING!!!!!!!! I am so impressed and sooo pleased to be a recipient of such generosity!!!!!!
{I could use more !! if necessary, but then I'd be LOLing}
You are allowed your exclamation points as you are an exclamation point girl, and I love you. Just don't lol on my blog. :)
Post a Comment